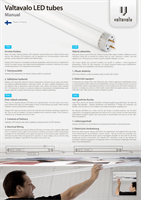


 2 / 4
2 / 4

2. Asennus
Ennen asennusta varmista, että valaisimista on virta katkaistu ja että asennusympäristö on esteetön.
Varmista myös, että valaisin soveltuu LED-valoputkien asentamiseen. Valtavalon LED-valoputki on
ensisijaisesti tarkoitettu asennettavaksi perinteisen loisteputken tilalle valaisimiin, joissa on sähköisessä
piirissä vain magneettinen kuristin, sytytin ja yksi T8/T10 loisteputki, mutta se voidaan asentaa myös
elektronisella liitäntälaitteella varustettuun valaisimeen, jos valaisin uudelleenjohdotetaan. Jos valaisi-
messa on kompensointikondensaattori, se tulee poistaa ennen LED-valoputken asentamista.
Jos valaisimeen tehdään muutostöitä, kuten uudelleenjohdotus tai kompensointikondensaattorin
poisto, syntyy uusi sähköinen laite, ja alkuperäisen valaisinvalmistajan vastuu laitteen toiminnasta
lakkaa. Kaikki muutostyöt on tehtävä valtuutetun sähkömiehen toimesta. Näissä tapauksissa valaisin
on myös merkittävä Valtavalolta saatavalla valaisinmuutostarralla. Epäselvissä tilanteissa ota yhteyttä
Valtavaloon.
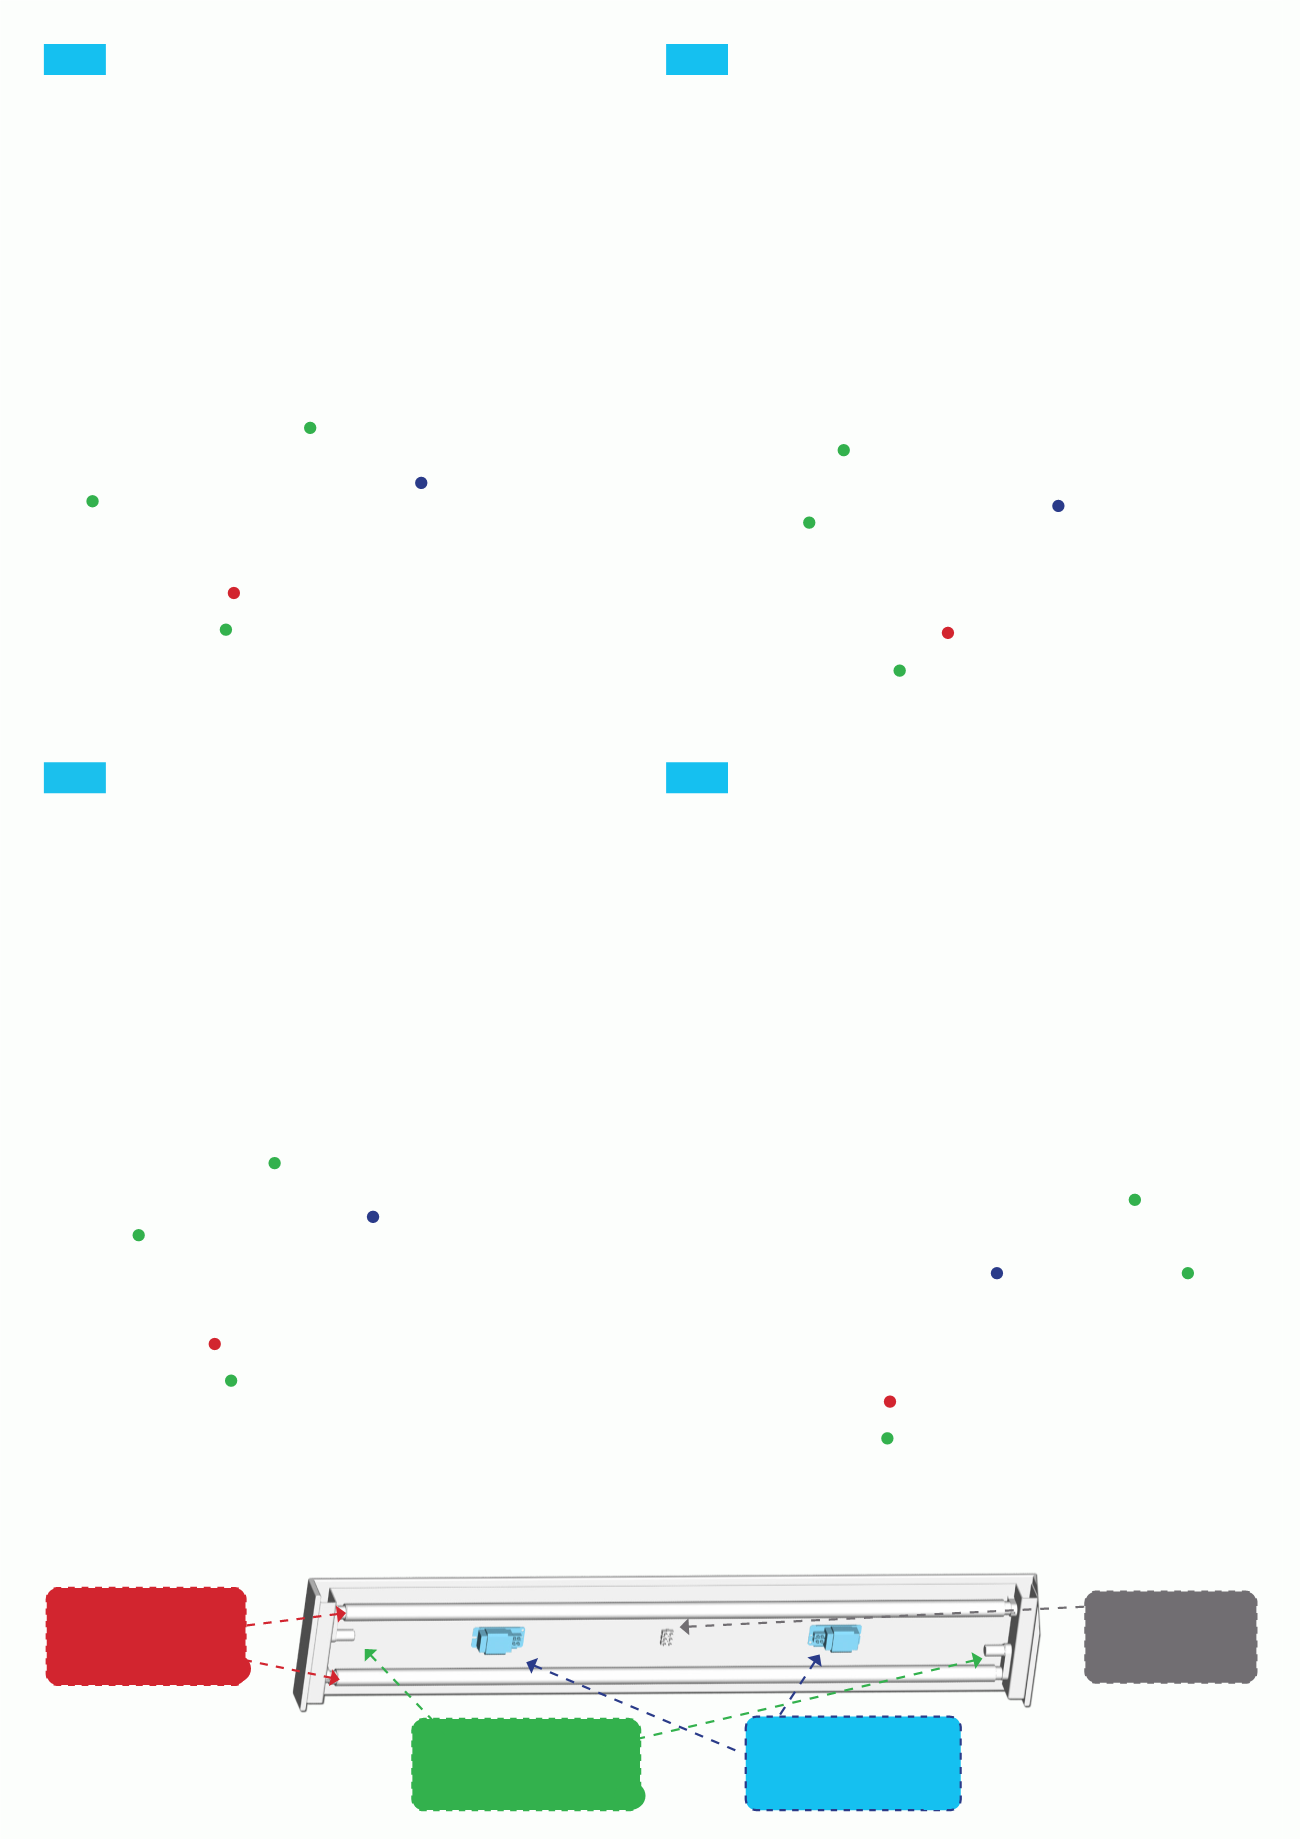
1. Asennus Valtavalon LED-valaisimeen
Asenna LED-valoputket valaisimeen työntämällä molemmista päistä putken piikit kohtisuoraan hah-
loihin. Pyöräytä putki kiinni vain sormivoimia käyttäen. Katso, että valoa tuottava muovinen pinta
osoittaa asennuksen jälkeen haluttuun suuntaan. Jos valaisimessa on paikka Valtavalon LED-turvasy-
tyttimelle, asenna mukana toimitettu sytytin
B
paikalleen.
2. Asennus perinteisten loisteputkien tilalle
Varmista, että valaisimessa on käytössä magneettinen kuristin
C
. Valaisimessa on aina tällöin myös
sytytin
B
. Jos valaisimessa on elektroninen liitäntälaite, ei Valtavalon LED-valoputkea voida asentaa
ilman valaisimen uudelleenjohdotusta. Jos et ole varma kuristimen mallista, kysy neuvoa sähkömiehel-
tä tai Valtavalolta. Jos valaisimessa on kaksi loisteputkea, vaihda molemmat loisteputket kerralla LED-
valoputkiin. Kahden putken valaisimissa on tarkistettava, että jokaisella putkella on oma kuristin.
2.1. Poista vanhat loisteputket
A
valaisimista pyöräyttämällä loisteputkea kunnes päissä olevat hahlot
vapauttavat putken piikit.
2.2. Poista vanhat sytyttimet
B
valaisimista. Asenna putken mukana toimitettu punainen Valtavalon
LED-turvasytytin vanhan sytyttimen paikalle.
2.3. Asenna putki valaisimeen työntämällä molemmista päistä putken piikit kohtisuoraan hahloihin ja
pyöräytä lukkoon sormivoimia käyttäen.
Kytke virta ja tarkista LED-valoputkien toiminta.
FIN
ENG
2. Installation
Before installation, ensure that the luminaire is switched off and make sure to clear any obstacles
from the immediate environment. Ensure also that the LED tube is suitable for use in the luminaire.
The Valtavalo LED tube is designed to replace a traditional fluorescent tube in luminaires where the
electric wiring consists of only a magnetic ballast, a starter and a T8/T10 fluorescent tube, but it
can also be installed in luminaires equipped with an electronic ballast, if the luminaire in question is
modified accordingly. If the luminaire contains a compensation capacitor, it needs be removed before
installation of LED tubes.
If the luminaire is modified, for example, wiring changes are made to the luminaire or the compen-
sation capacitor is removed, a new electrical device is created and the responsibility of the original
manufacturer of the luminaire ceases. All modifications must be performed by certified electricians.
In these cases, the luminaire must also be marked with a luminaire modification sticker available from
Valtavalo. In unclear cases, contact Valtavalo.
1. Installation in a Valtavalo LED Luminaire
I
nstall the LED tubes in the luminaire by pushing the pins located at both ends of the tube directly
into the slots on the luminaire. Using gentle pressure, spin the tube by hand to attach. After instal-
lation, check that the light emitting components point in the desired direction. If a Valtavalo LED
starter is required, install the starter
B
that was delivered together with the LED tube in its place.
2. Replacing Traditional Fluorescent Tubes
Ensure that the luminaire contains a magnetic ballast
C
. In this case, the luminaire will also always
have a starter
B
. Valtavalo LED tube is compatible with luminaires containing an electronic ballast
only after a luminaire has been rewired. If you are uncertain as to the type of ballast present within
the luminaire, consult an electrician or Valtavalo technical support. If the luminaire contains two fluo-
rescent tubes, replace them both at the same time with LED tubes. In two-tube luminaires, ensure
that both tubes have their own ballast.
2.1. Remove the old tubes
A
from the luminaires by spinning the tube until the slots in the luminaire
release the pins of the tube.
2.2. Remove the old starters
B
from the luminaires. Replace the old starter with the red Valtavalo
LED starter delivered together with the tube.
2.3. Install the LED tubes into the luminaire by pushing the pins at both ends of the tube directly
into the
slots. Gently spin the tubes by hand until the luminaire connector parts lock the tube.
Turn on the power and check that the LED tubes work.
2. Instalace
Před instalací se ujistěte, že je svítidlo odpojeno od elektrického proudu a z okolí jsou odstraněny
všechny překážky. Kromě toho zkontrolujte, zda je svítidlo vhodné pro použití LED trubice. LED
trubice Valtavalo nahrazuje tradiční zářivkové trubice ve svítidlech, kde se elektroinstalace skládá ze
samotného elektromagnetického předřadníku, startéru a T8/T10 fluorescenční (zářivkové) trubice,
ale může být rovněž instalována ve svítidlech vybavených elektronickým předřadníkem, pokud je
tomu svítidlo náležitě přizpůsobeno. Pokud svítidlo obsahuje kondenzátor pro kompenzaci účiníku, je
třeba jej před instalací LED trubic odstranit.
Pokud je svítidlo upraveno, je provedena například změna zapojení vodičů nebo odstranění
kompenzačního kondenzátoru, vzniká nové svítidlo a odpovědnost původního výrobce zaniká.
Všechny změny musí provádět kvalifikovaný elektrikář. V těchto případech musí být svítidlo rovněž
viditelně označeno štítkem označujícím provedenou změnu na svítidle. Takový štítek je dostupný u
Vašeho Valtavalo distributora. V nejasných případech kontaktujte společnost Valtavalo.
1. Instalace trubice do LED svítidla Valtavalo
Trubici nainstalujete vsunutím kolíčků koncovky po obou stranách LED trubice do drážek patice ve
svítidle (shodně jako zářivkové trubice). Použitím výhradně jemné síly prstů otočte trubici tak, aby
světlo emitující komponenty vyzařovaly požadovaným směrem. Pokud je ve svítidle startér, nahraďte
jej LED startérem Valtavalo , který byl dodán společně s LED trubicí.
2. Náhrada tradiční zářivkové trubice
Ujistěte se, že svítidlo obsahuje elektromagnetický předřadník . V tomto případě bude svítidlo
vždy obsahovat startér . LED trubice Valtavalo je kompatibilní se svítidly obsahujícími elektronický
předřadník pouze po té, co bylo svítidlo přepojeno. Pokud si nejste jisti typem předřadníku, poraďte
se s elektrikářem nebo s technickou podporou Valtavalo. Pokud svítidlo obsahuje dvě zářivkové tru-
bice, nahraďte je obě najednou LED trubicemi. U dvou-trubicových svítidel se ujistěte, že každá
trubice má svůj vlastní předřadník.
2.1. Vyjměte ze svítidla staré zářivkové trubice následujícím způsobem: otáčejte pomalu trubicí
tak, až se konektory v paticích trubice uvolní.
2.2. Vyjměte ze svítidla starý startér a vložte na jeho místo červený Valtavalo LED startér, který
byl dodán společně s LED trubicí.
2.3. Instalujte LED trubici zasunutím konektorů na obou koncích trubice do patic ve svítidle. Jemně
otáčejte trubicí prsty, dokud konektory trubici neuzamknou.
Zapněte přívod elektrického proudu a ujistěte se, že LED trubice pracuje správně.
Loisteputki - LED-valoputki
Zářivka / LED trubice
Fluorescent / LED Tube
Leuchtstoff / LED-Röhre
Sytytin / LED-sytytin
Startér / LED startér
Starter / LED-starter
Kuristin
Magnetický/indukční předřadník
Magnetic/inductive ballast
Vorschaltgerät
Sokeripala / Riviliitin
Svorkovnice
Screw Terminal
Schraubklemme
B
C
A
CZE
2. Einbau
Vergewissern Sie sich, dass die Lampe ausgeschaltet ist, bevor Sie die LED-Röhre installieren, und
dass die unmittelbare Umgebung von Hindernissen befreit ist. Überprüfen Sie außerdem, dass die
LED-Röhre für die Lampe geeignet ist. Die Valtavalo LED-Röhre ist als Ersatz für eine herkömmliche
Leuchtstoffröhre in einer Lampe konzipiert, in der die elektrische Verdrahtung aus einem magneti-
schen Vorschaltgerät, einem Starter und einer T8/T10 Leuchtstoffröhre besteht. Sie kann auch in
einer Leuchte mit einem elektrischen Vorschaltgerät installiert werden, wenn die Leuchte so neuver-
drahtet wird, dass sie mit der LED-Röhre kompatibel ist. Falls die Lampe einen Kompensationskon-
densator enthält, sollte dieses vor der Installation entfernt werden.
Wenn an der Lampe Änderungen vorgenommen werden, wie zum Beispiel neue Verdrahtung oder
Entfernung des Kompensationskondensator, entsteht ein neues elektrisches Gerät und der ursprüng-
liche Hersteller ist nicht mehr für die Funktionalität des Geräts verantwortlich. Alle Änderungen
müssen von einem autorisierten Elektriker durchgeführt werden. Setzen Sie sich bei Unklarheit mit
Valtavalo Ltd in Verbindung.
1. Installation in eine Valtavalo LED-Lampe
Installieren Sie die LED-Röhren in die Lampe, indem Sie die an beiden Enden der Röhre befindlichen
Stifte in die entsprechenden Aussparungen in der Lampe drücken. Drehen Sie unter Anwendung von
leichtem Druck die Röhre mit der Hand, um sie zu befestigen. Überprüfen Sie nach der Installation,
dass die Leuchtkomponenten in die gewünschte Richtung gerichtet sind. Falls ein Valtavalo LED-
Starter benötigt wird, bringen Sie den mit der LED-Röhre gelieferten Starter
B
an der vorgesehe-
nen Stelle an.
2. Austauschen einer Leuchtstoffröhre
Prüfen Sie, ob die Lampe ein induktives Vorschaltgerät
C
enthält. Falls ja, ist ein Starter
B
erforder-
lich. Die Valtavalo LED-Röhre ist nicht mit Lampen kompatibel, die ein elektronisches Vorschaltgerät
enthalten, und die Valtavalo LED-Röhre darf daher in kein solches Gerät installiert werden. Falls Sie
sich über die Art des Vorschaltgeräts in der Lampe nicht sicher sind, wenden Sie sich an einen Elekt-
riker oder an den technischen Kundendienst von Valtavalo. Falls die Lampe zwei Leuchtstoffröhren
enthält, tauschen Sie sie beide gleichzeitig aus.
2.1. Entfernen Sie die alten Röhren
A
aus der Lampe, indem Sie die Röhre solange drehen, bis die
Aussparungen in der Lampe die Stifte an der Röhre herauslassen.
2.2. Entfernen Sie die alten Starter
B
aus den Lampen. Installieren Sie den mit der Röhre mitgelie-
ferten LED-Starter.
2.3. Installieren Sie die LED-Röhren in die Lampe, indem Sie die an beiden Enden der Röhre befind-
lichen Stifte in die Aussparungen drücken. Drehen Sie die Röhre sachte mit der Hand, bis die
Anschlussteile der Lampe die Röhre verriegeln.
Schalten Sie den Strom an und überprüfen Sie, den Betrieb der LED-Röhre.
DEU
B
C
B
A
B